Colab GPUs in Your Editor: Running Google Colab Inside VS Code
Fine-tune an LLM on Colab's GPUs without ever leaving VS Code — plus the Google Drive pitfall that almost ate my trained models.
If you've done any deep learning as a student or hobbyist, you know the deal: Google Colab hands you a cloud GPU — a T4 for free when capacity allows, beefier hardware with a paid plan — and in exchange you write code in a browser tab. No proper file tree. No real Git integration. None of the extensions you've spent years configuring. And in 2026, no AI coding assistant sitting next to your cursor.
For a recent project, I needed to fine-tune a small language model with LoRA adapters — the kind of job that takes two minutes on an A100 and two geological eras on my laptop. I wanted Colab's hardware, but I wanted my editor. It turns out you can have both: the Google Colab extension for VS Code connects a Colab runtime directly to VS Code's notebook interface.
This post walks through the full setup, the workflow I settled on for real projects (private repos, GPU training, saving results), and one genuinely nasty pitfall involving Google Drive that cost me an evening — so it doesn't cost you one.
Why VS Code though?
The Colab web UI is fine for scratch work. It stops being fine when your project grows past one notebook:
- Your AI assistant lives in your editor. Copilot, Claude, whatever you use — it can read your whole repo and edit cells. The Colab browser editor leaves you on your own.
- Real Git workflow. Diff your notebook, commit from the source control panel, review changes before pushing — instead of Colab's "Save a copy in GitHub" hammer.
- One workspace. Your training scripts, data files, and notebook sit side by side in the file tree. Refactor a module and run it on the GPU seconds later.
- Your keybindings, your theme, your extensions. Small thing. Not a small thing.
Understanding how it actually works
Before the steps, one mental model that will save you real pain later:
VS Code is only the front end. The code runs on a Colab virtual machine in Google's cloud.
That means:
- Two filesystems — and a sync boundary that will bite you. Your laptop's files and the Colab VM's files (
/content/...) are different worlds. The split is sneakier than it sounds: edits to the notebook's cells take effect the moment you run them, because the cell's code is sent to the remote kernel — but any.pymodule that code imports is read from the VM's copy of your repo. Edittrain.pylocally, re-run the cell, and nothing changes; the VM never saw your edit. Source changes travel only one way: commit, push, and pull on the VM. - The VM is ephemeral. When your session ends — timeout, disconnect, quota — the VM's disk is wiped. Anything you didn't push to GitHub or copy to Google Drive is gone.
- Bootstrap every session. Cloning your repo and installing dependencies has to happen at the top of every fresh session. Structure your notebook accordingly.
Keep those three facts in mind and the rest is smooth.
Step-by-step: Colab inside VS Code
Step 1 — Install the extension
Open the Extensions panel in VS Code (Cmd/Ctrl+Shift+X) and search for "google colab". One caution: the search returns a pile of lookalikes — dark themes, keymaps, third-party "Colab Pro" tools. The one you want is named simply Colab ("Connect notebooks to Colab servers."), published by Google with the verified-publisher badge, identifier google.colab. It's built atop the Jupyter extension, so install that too if prompted. (On a VS Code fork like VSCodium? The extension is also published to Open VSX.)
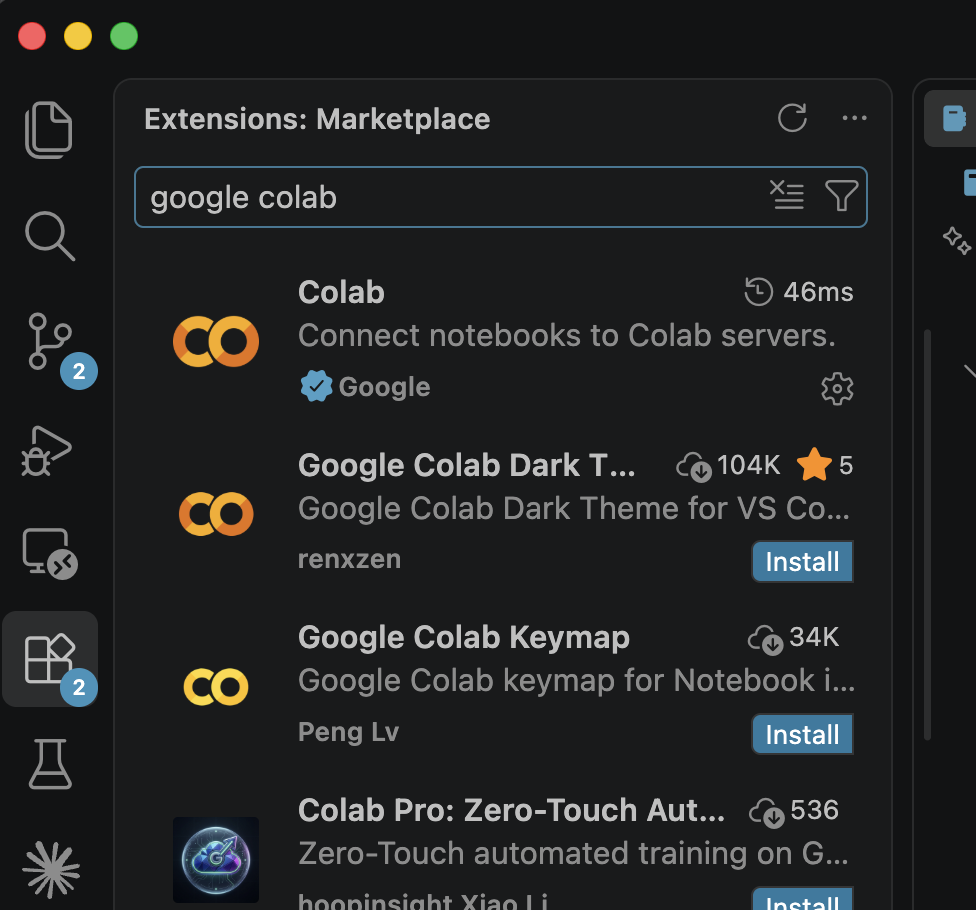
The official extension is the one named just "Colab", by verified publisher Google — not the themes and keymaps below it.
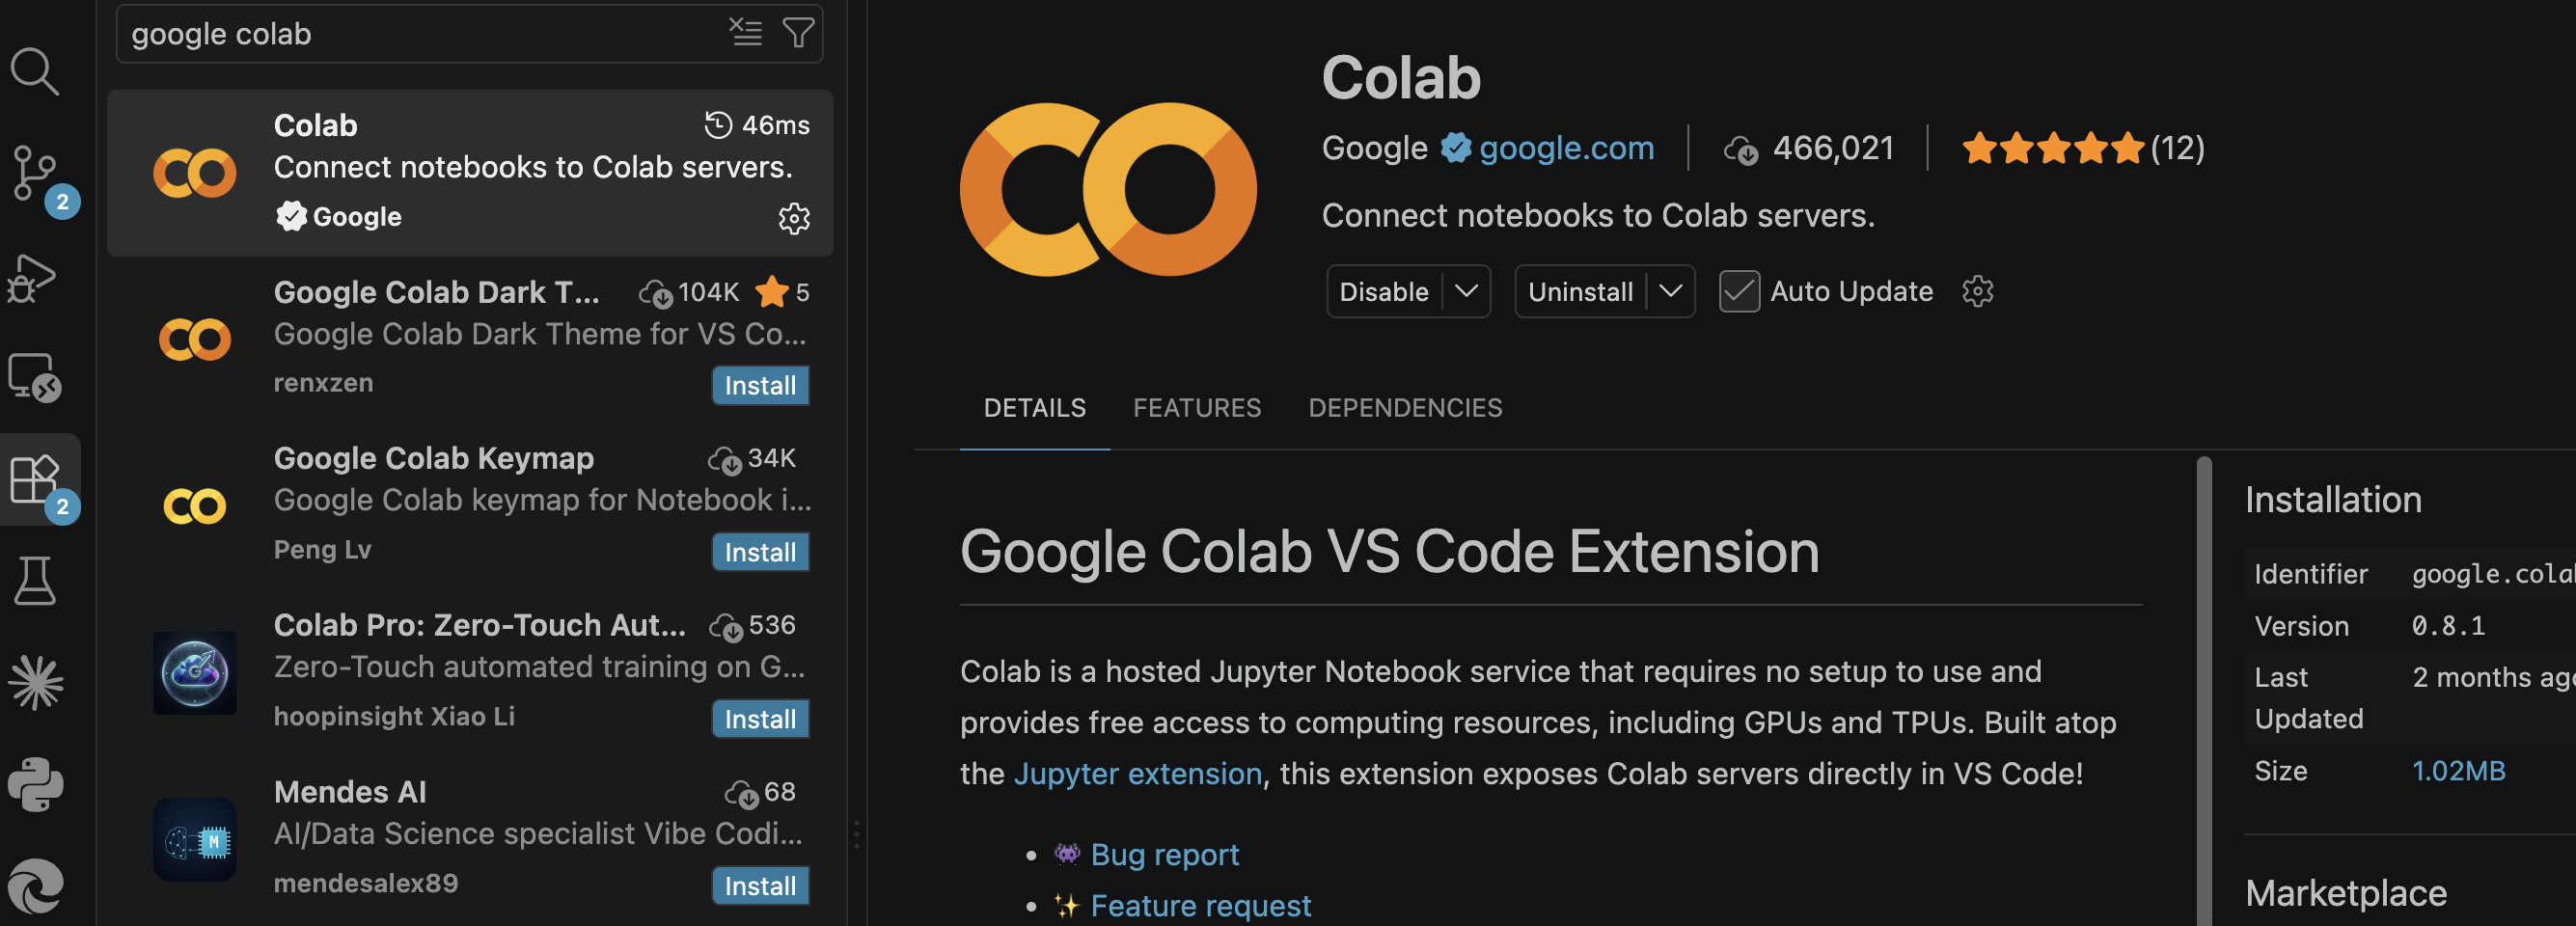
The extension details page: verified publisher, 466k installs, identifier google.colab.
Step 2 — Sign in with your Google account
The extension will prompt you to authenticate with the Google account you use for Colab. If you have Colab Pro, this is also what unlocks the beefier GPUs.
Step 3 — Connect a notebook to a Colab runtime
Open any .ipynb file and click the kernel picker in the top-right corner of the notebook, then Select Another Kernel…:
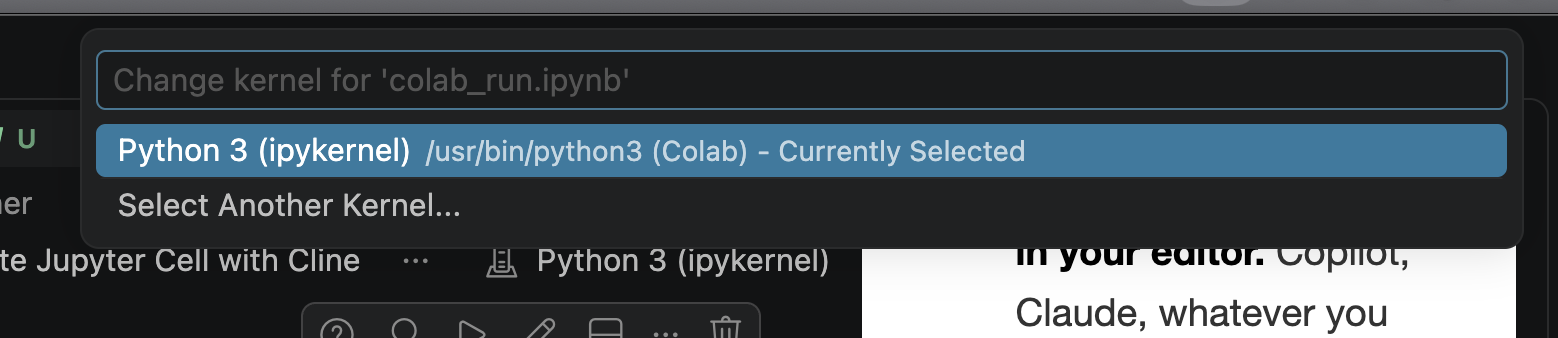
You'll see Colab listed as a kernel source alongside your local Python environments:
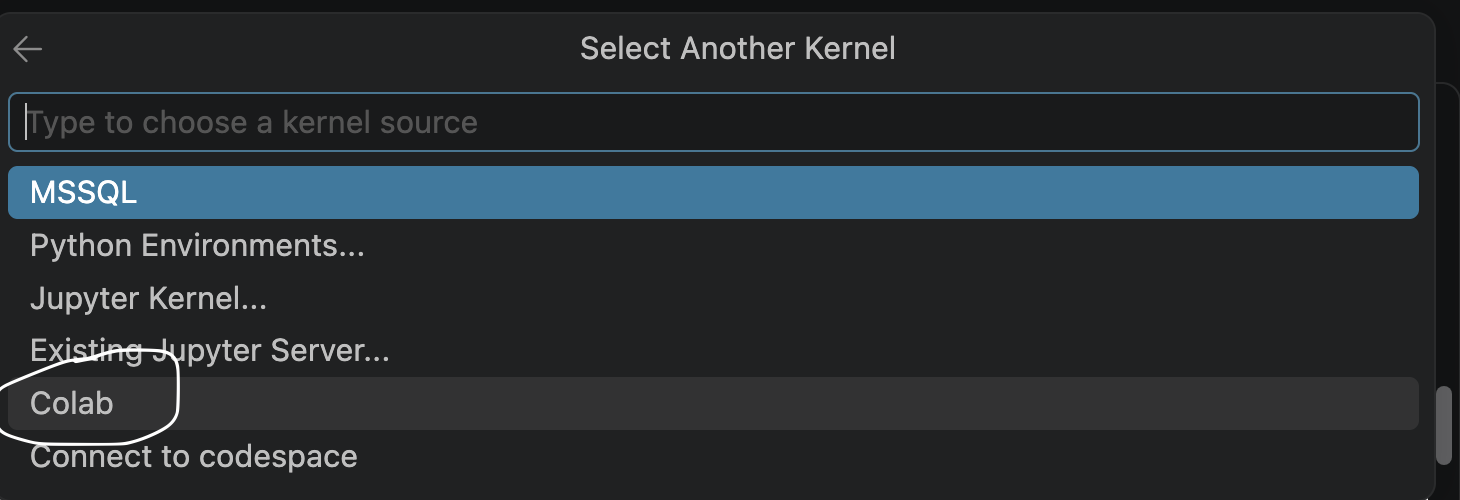
Pick Colab → New Colab Server. You'll also see Auto Connect, which reattaches to your most recent server in one click — handy, but with a catch: if your old server has expired, it quietly creates a brand-new CPU server instead. More on why that matters in a moment.
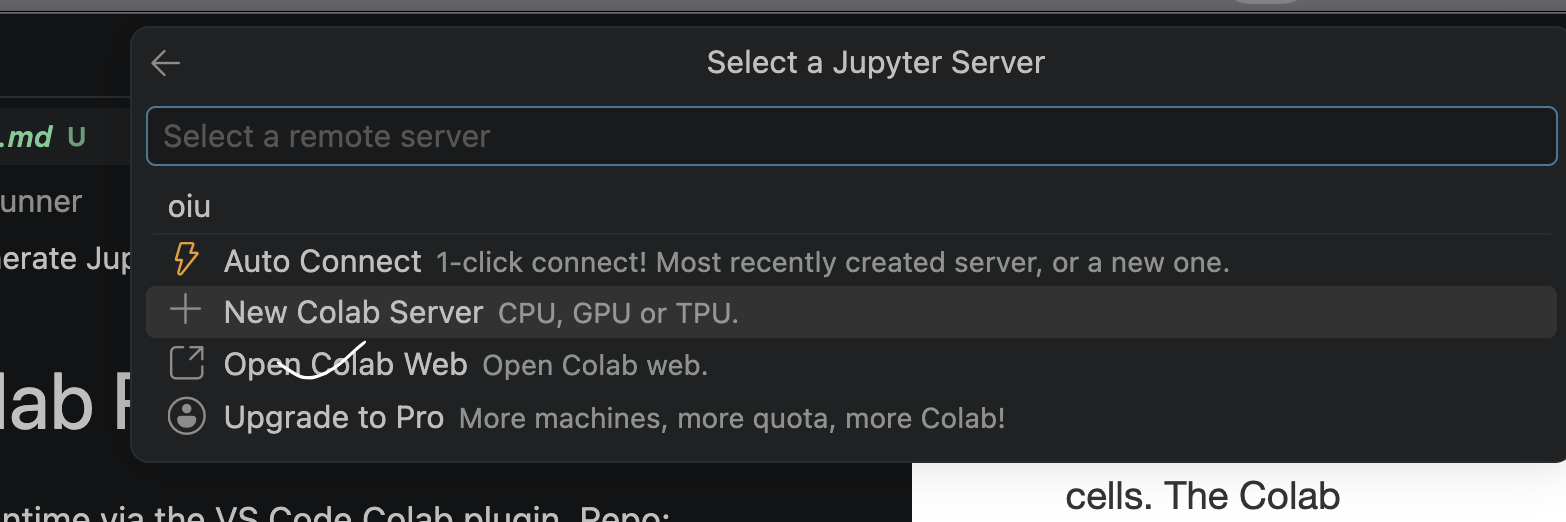
The extension then walks you through a short wizard:
- Variant — CPU, GPU, or TPU
- Accelerator — what's listed varies by plan, region, and current capacity. The T4 is the free-tier workhorse; L4s and A100s generally come with Pro or compute units
- Runtime version — "Latest" is fine unless you need to pin one for reproducibility
- Alias — a friendly name like
Colab GPU A100, so you can recognize the server next time
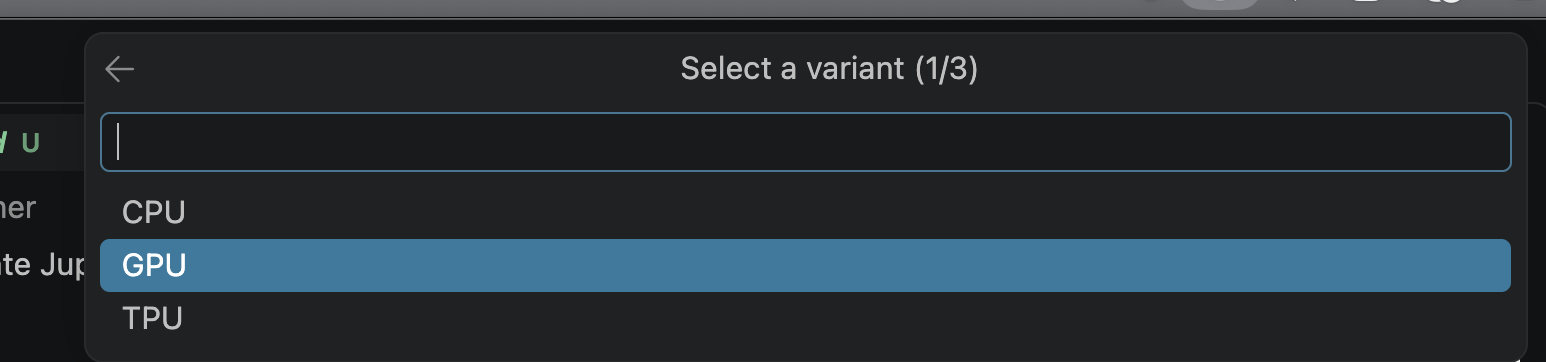
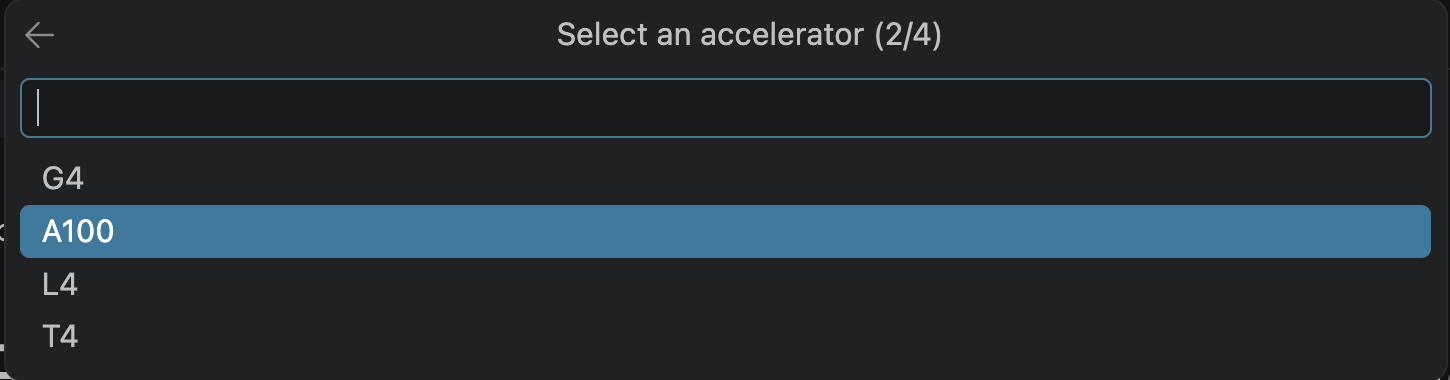
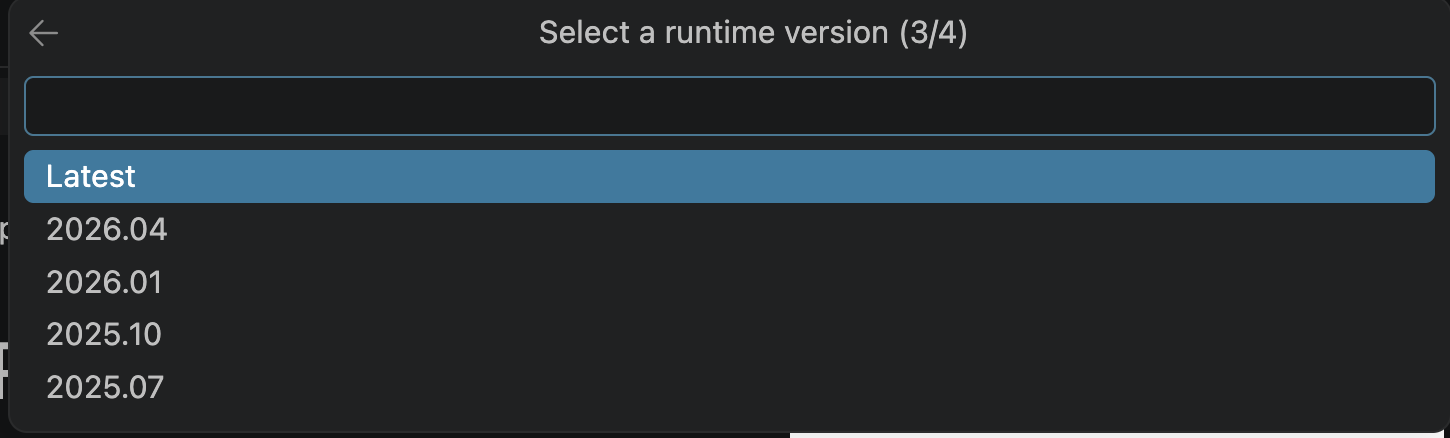

The four-step wizard: variant → accelerator → runtime version → alias.
Finally, pick Python 3 (ipykernel) from the new server's kernel list — and yes, the Colab VM also ships Julia and R kernels, if that's your thing.
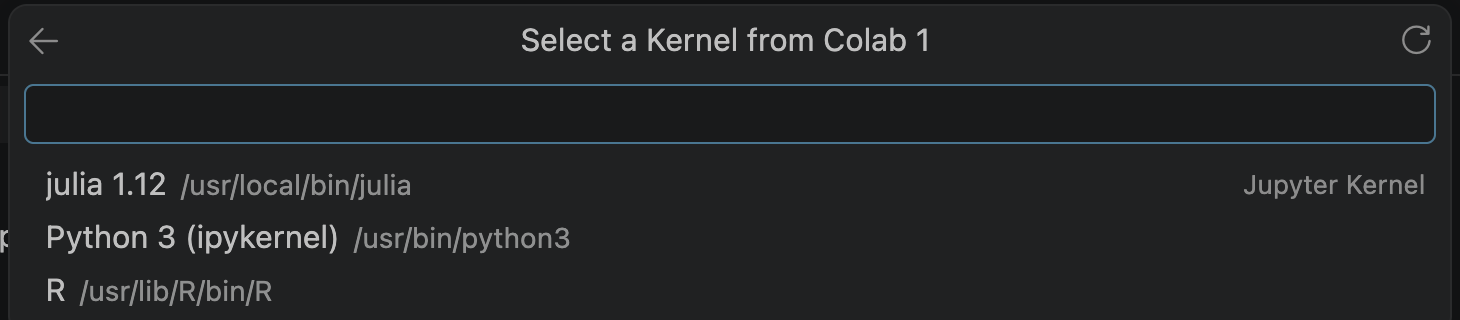
That's the whole setup. Your notebook now executes in Google's cloud while you edit it locally.
Step 4 — Verify the GPU
First cell, every time. This isn't paranoia: reconnect with Auto Connect after your server expired and you'll silently land on a CPU-only VM — better to find out in cell one than an hour into a "training run" that's quietly crawling on CPU.
import torch

print('CUDA available:', torch.cuda.is_available())
if torch.cuda.is_available():
    print('GPU:', torch.cuda.get_device_name(0))
    print('VRAM:', round(torch.cuda.get_device_properties(0).total_memory / 1e9, 1), 'GB')
CUDA available: True
GPU: NVIDIA A100-SXM4-40GB
VRAM: 42.4 GBForty gigabytes of VRAM, in my editor. To be clear about what's free and what isn't: the A100 comes out of my Colab Pro allocation — on the free tier you'd see a T4 here, which is still plenty for this project. Moving on.
Step 5 — Clone your project repo (including private repos)
Since the VM starts empty each session, the first real cell clones the project. For a private repo, use a GitHub Personal Access Token (create one at github.com/settings/tokens). Two critical security habits here:
- Never paste your token into the notebook or your code. Use Python's
getpassso that the token is prompted at runtime and never gets written to your notebook's metadata or Git history. - Use a fine-grained, read-only token. When cloning with
https://{user}:{token}@github.com/..., Git writes this full URL (including your plain-text PAT) directly into/content/{repo}/.git/config. While this VM is ephemeral, if you later back up or mirror your entire directory to Google Drive, you will accidentally copy your credential. Always use a fine-grained token with access limited solely to this repository, and make sure any copy or backup scripts ignore the.git/folder.
Here's the cell, with both habits applied:
import os, getpass, subprocess

GITHUB_USER = 'your-username'
GITHUB_REPO = 'my-llm-project'

# Prompted at runtime — the token is never saved into the notebook file
GITHUB_TOKEN = getpass.getpass('GitHub Personal Access Token: ')

REPO_URL = f'https://{GITHUB_USER}:{GITHUB_TOKEN}@github.com/{GITHUB_USER}/{GITHUB_REPO}.git'
REPO_DIR = f'/content/{GITHUB_REPO}'

if os.path.exists(REPO_DIR):
    # Session survived — update. --ff-only refuses to merge a diverged branch.
    subprocess.run(['git', '-C', REPO_DIR, 'pull', '--ff-only'], check=True)
else:
    subprocess.run(['git', 'clone', REPO_URL, REPO_DIR], check=True)

os.chdir(REPO_DIR)
print('Working directory:', os.getcwd())
This cell is a clone-or-pull: on a fresh VM it clones; in a still-warm session it fast-forwards. The check=True is not decoration — if the pull fails (dirty tree, diverged branch, expired token), you want a loud error here, not a notebook that keeps running against a stale checkout and leaves you debugging ghosts.
Step 6 — Install dependencies
!pip install -q -r requirements.txtExpect some version-conflict warnings — Colab images ship with a lot pre-installed, and pip will grumble. Read the warnings, but they're usually harmless. When a pre-installed package genuinely conflicts, upgrade it explicitly before installing the rest.
Step 7 — Train
Here's where the setup pays off. My project fine-tunes a ~370M-parameter language model with LoRA adapters. On the A100, a full training run looks like this:
!python -m train --output_dir models/lora_adaptertrainable params: 8,683,520 || all params: 370,504,640 || trainable%: 2.34
100% 160/160 [01:56<00:00, 1.37it/s]
Model saved to models/lora_adapter
benchmark accuracy: 0.83Two minutes. The same run on my laptop's CPU is a lunch break, minimum. And because the notebook lives in VS Code, my AI assistant helped debug the training script in the same window between runs.
One habit to drill, though — this is the sync boundary from the mental-model section earning its keep: after every local edit to a .py file, push, then re-run the clone-or-pull cell before training again. The training process reads the VM's copy of your code, and until you push and pull, your fix exists only on your laptop.
Step 8 — Save your results (carefully)
Remember: the VM disk is a sandcastle. Before the tide comes in, copy anything you care about to Google Drive:
from google.colab import drive
drive.mount('/content/drive')

import shutil
shutil.copytree('models/lora_adapter',
                '/content/drive/MyDrive/project_results/lora_adapter',
                dirs_exist_ok=True)
The extension even ships a shortcut for this: Colab: Mount Google Drive to Server… in the command palette appends the standard mount snippet to your notebook. Convenient — though as you're about to see, the mount snippet is not the part that bites you.
One gotcha specific to the VS Code workflow: files.download() — the snippet every Colab tutorial uses to download files — only works in the Colab web UI. In VS Code it fails, because there's no browser to receive the download. Copying to Drive is the reliable path.
Which brings me to the part of this post I wish someone had written before me.
The Google Drive trap that ate my results (almost)
Here's the sequence of perfectly innocent-looking events that nearly cost me a trained model.
My "save results" cell did this:
SAVE_DIR = '/content/drive/MyDrive/project_results'
os.makedirs(SAVE_DIR, exist_ok=True)     # <-- the villain
shutil.copytree('models/lora_adapter', SAVE_DIR + '/lora_adapter')
print('Saved!')
It printed Saved!. Later, a bundling cell had a guard that looked downright responsible:
if not os.path.isdir('/content/drive/MyDrive'):   # "only mount if not mounted"
    drive.mount('/content/drive')
shutil.copy2('results.zip', SAVE_DIR)
print('Copied results.zip — download it from drive.google.com')
Everything printed success. I opened drive.google.com. Nothing was there.
And when I tried to mount Drive manually to investigate:
ValueError: Mountpoint must not already contain filesWhat actually happened
I had never mounted Drive in that session. So when os.makedirs('/content/drive/MyDrive/project_results') ran, Python did exactly what it's told to do with a path that doesn't exist: it created it — as a plain local folder on the VM's disk that merely looks like a Drive path.
From that moment, everything conspired to hide the problem:
- Every "save to Drive" copied files into that local folder. On the doomed VM disk.
- The
os.path.isdir('/content/drive/MyDrive')guard saw the fake folder, concluded Drive was mounted, and skipped the real mount. - When I finally called
drive.mount()myself, it refused — the mountpoint has to be empty, and my orphaned files were squatting on it.
Two separate cells printed success messages while quietly writing my results into a folder scheduled for demolition.
The rescue
If you're in this state and the session is still alive, your files are recoverable:
import os, shutil

# The current /content/drive is a plain local folder — move it aside.
# The backup name must be FRESH: shutil.move onto an existing directory
# would nest drive/ inside it and break the copy below.
backup, n = '/content/drive_localbackup', 1
while os.path.exists(backup):
    backup = f'/content/drive_localbackup_{n}'
    n += 1
shutil.move('/content/drive', backup)

from google.colab import drive
drive.mount('/content/drive')            # now succeeds

# Copy the stranded files into your real Drive
shutil.copytree(f'{backup}/MyDrive/project_results',
                '/content/drive/MyDrive/project_results',
                dirs_exist_ok=True)

drive.flush_and_unmount()                # force the sync
The fix pattern
The root cause was trusting os.path.isdir() to answer the question "is Drive mounted?" — a question it cannot answer, because makedirs can fake the directory. The correct check is os.path.ismount(). Here's the defensive block I now paste at the top of every save cell:
import os, shutil
from google.colab import drive

if not os.path.ismount('/content/drive'):
    # If a previous cell created local files here, move them aside first —
    # to a fresh name, so a repeat run can't nest one backup inside another
    if os.path.isdir('/content/drive') and os.listdir('/content/drive'):
        backup, n = '/content/drive_localbackup', 1
        while os.path.exists(backup):
            backup = f'/content/drive_localbackup_{n}'
            n += 1
        shutil.move('/content/drive', backup)
        print(f'Rescued stray local files to {backup}')
    drive.mount('/content/drive')
And when a save truly matters — end of a long training run, final deliverable — finish with drive.flush_and_unmount(). Writes to the Drive mount are buffered, and a session that dies before the buffer flushes takes your "saved" files with it.
Other advantages I didn't expect
- Notebook diffs in source control. Seeing exactly which cells changed before committing caught more than one accidental edit.
- The whole repo is context for your AI assistant. Debugging a training script is very different when the assistant can read the data loader, the config, and the notebook output together.
- Local editing during GPU downtime. Runtime disconnected? Keep refactoring locally; reconnect and re-run the bootstrap cell when a GPU frees up.
The rough edges, honestly
- Sessions reset, a lot. Free-tier timeouts are aggressive. Build your notebook so a cold start (clone → install → verify GPU) is three cells and ninety seconds.
- It's still a remote kernel. Big outputs and file transfers move over the network. Don't
printa million rows. - The extension is young. Occasional reconnect hiccups; when in doubt, reselect the kernel. Auto Connect is the quick fix while your server is still alive — but once it has expired, Auto Connect defaults you onto a CPU server, so go through New Colab Server and pick your GPU again.
- Housekeeping lives in the command palette.
Colab: Remove Serverdrops stale servers from your list;Colab: Sign Outswitches Google accounts.
Conclusion
Running Colab through VS Code turned my GPU workflow from "code in a browser, paste back into the repo" into a single, normal development loop with borrowed supercomputer parts. If you take away five things:
- VS Code is the front end; the Colab VM does the work — and its disk is ephemeral.
- Bootstrap every session: clone-or-pull, install, verify GPU — and re-run the pull after each local
.pyedit, because the VM runs its copy of your code, not yours. - Use
getpassfor tokens. Credentials never belong in a notebook. os.path.ismount(), neveros.path.isdir(), to check whether Drive is mounted.flush_and_unmount()after saves that matter.
The T4 is free; the A100 came with my Pro subscription. The evening you save by dodging the Drive trap? Priceless.